Kids can use simple household items like oil, water, and food coloring to create colorful blobs that rise and fall, mimicking a real lava lamp. This fun and educational activity sparks curiosity and teaches basic scientific concepts.
The Amazing Lava Lamp Experiment is a captivating activity that introduces kids to scientific principles. As they mix ingredients and observe reactions, they’ll learn about density and chemical reactions in a memorable way.
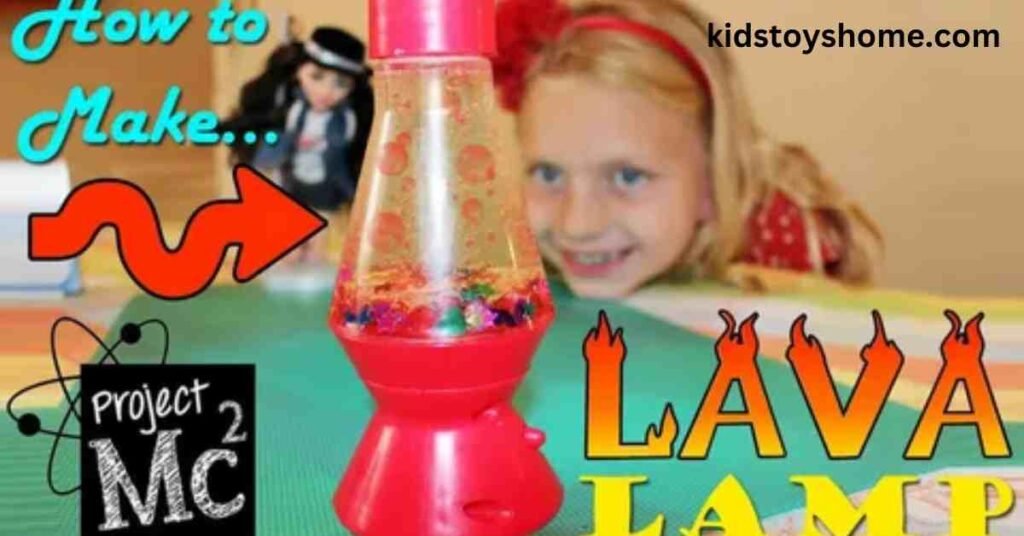
What Is a Lava Lamp?
Creating a homemade lava lamp is perfect for rainy days or school projects. With easy-to-find materials, children can make their glowing masterpieces. This DIY project provides entertainment and promotes learning through play.
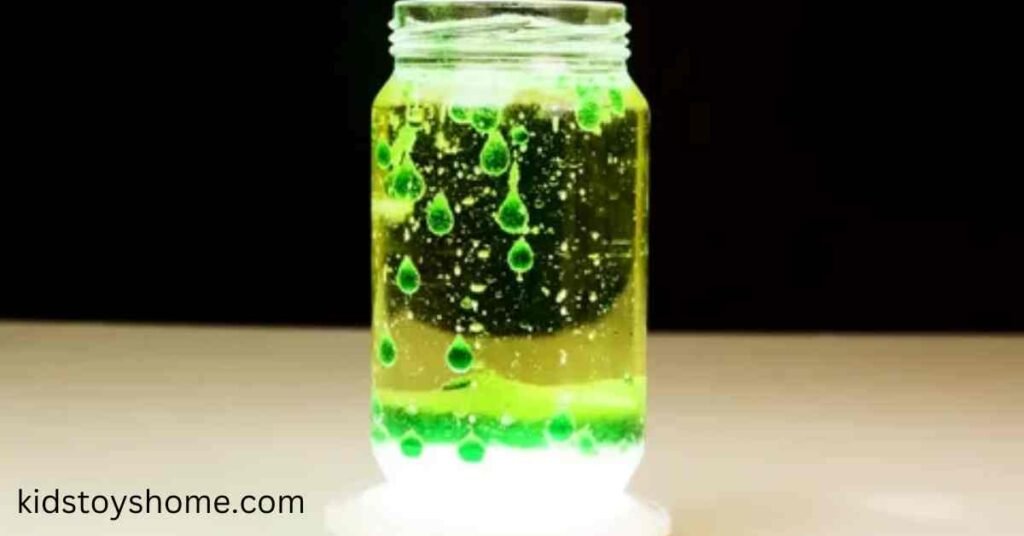
The lava lamp experiment is a fun and simple science activity for kids. Children can create a lava lamp effect using common household items like oil, water, food coloring, and a fizzy tablet. When the tablet dissolves, colorful splashes rise and fall, just like in a real lava lamp.
Material Needed For Lava Lamp Experiment
Creating a lava lamp is a simple and exciting project that requires just a few household materials. Gather a clear bottle or jar, vegetable oil, water, food coloring, and fizzy tablets like Alka-Seltzer to get started. These basic items combine to create a colorful display that demonstrates fascinating scientific principles.
Alka-Seltzer tablets
Alka-Seltzer tablets are composed of sodium bicarbonate and citric acid, which react to create carbon dioxide gas bubbles when dissolved in water. These gas bubbles are essential for the lava lamp effect, as they cause the colorful blobs to rise and fall in the liquid.
Food Color
Adding drops of food coloring to your lava lamp experiment highlights the fascinating interaction between the oil and water layers. When you add food coloring to the bottle, it initially passes through the oil layer without dissolving because it is water-based and oil is hydrophobic.
Vegetable Oil in a Lava Lamp
In a traditional lava lamp, vegetable oil is the medium through which the colorful blobs move. When heat is applied, the oil’s density decreases, allowing the blobs to rise and fall, creating the classic lava lamp effect.
Properly Filling a Cup of Water
To properly fill a cup of water, use a clean cup to ensure hygiene. Specify the desired quantity of water you wish to pour. Slowly pour the water into the cup to prevent spills when you reach the desired level.
Setting Up the Lava Lamp Experiment
Creating a homemade lava lamp is a fun and educational activity demonstrating basic scientific principles. By following a few simple steps, you can observe the fascinating interaction between different substances and see the mesmerizing effects of a DIY lava lamp.
Fill a Plastic Bottle with Water and Vegetable Oil Layers
First, fill a plastic bottle about two-thirds full with water, then carefully add vegetable oil until the bottle is almost full. Due to the different chemical properties, the oil and water will form distinct layers, with the oil floating on top because it is less dense and immiscible with water.
Add Drops of Food Coloring to the Water Layer
Next, add drops of food coloring to the water layer. As the red food coloring drops through the oil, it doesn’t dissolve and continues to sink until it reaches the water layer, where it begins to dissolve. This process creates a visually stunning effect as the color spreads and swirls within the water.
Break an Alka-Seltzer Tablet into Small Pieces
Break an Alka-Seltzer tablet into small pieces about the size of a pea. This size is recommended for a controlled reaction, but you can experiment with different sizes to see how they affect the reaction speed and intensity. These small pieces will be used to generate the bubbles necessary for the lava lamp effect.
Creating the Lava Lamp Effect
Now that the setup is complete, it’s time to bring your homemade lava lamp to life. Follow the next steps to see the dynamic, colorful display that makes lava lamps so mesmerizing.
Drop the Alka-Seltzer Pieces into the Bottle
Drop the Alka-Seltzer pieces into the bottle. As they dissolve, they create bubbles of carbon dioxide gas, which attach to the colored water and carry it to the top through the oil layer. This process is essential for forming the lava lamp effect, as the bubbles rise and burst, causing the colored water to sink back down.
Observe as Bubbles Form and Move Through the Layers
Observe the formation and movement of bubbles through the layers. The layering of oil and water is crucial for this effect, as it allows the bubbles to move freely. Factors such as temperature and concentration gradients influence bubble formation and movement, creating a dynamic and ever-changing display.
Conclusion
As the bubbles form and move through the oil and water layers, you’ll see a captivating display of colors and movement. This process vividly demonstrates scientific principles like density and gas formation.
The interaction between the different substances creates a dynamic and engaging visual effect. Watching the bubbles rise and fall is fun and educational, highlighting the importance of hands-on learning.
FAQs
Why doesn’t the oil mix with the water in the lava lamp experiment?
Oil and water don’t mix because oil is less dense and immiscible with water.
What does the Alka-Seltzer tablet do?
The Alka-Seltzer tablet releases carbon dioxide gas bubbles, creating the lava lamp effect.
Can I use other fizzy tablets instead of Alka-Seltzer?
Yes, other fizzy tablets that produce carbon dioxide gas will also work.
What happens if I add more food coloring?
Adding more food coloring will make the colors in the water layer more vibrant.
Can I reuse the same bottle for another experiment?
You can reuse the bottle by emptying and cleaning it thoroughly before starting again.