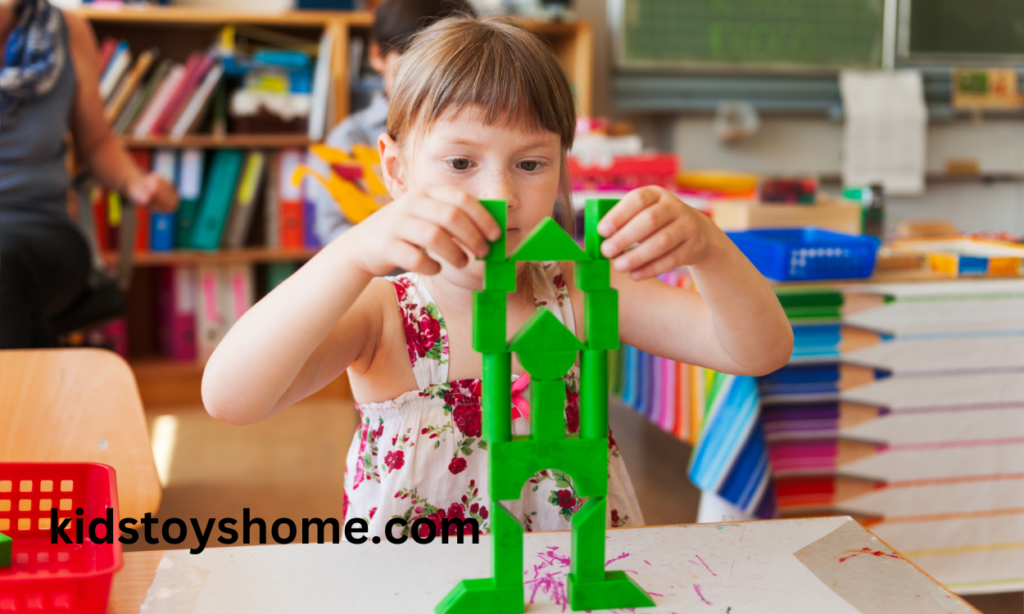
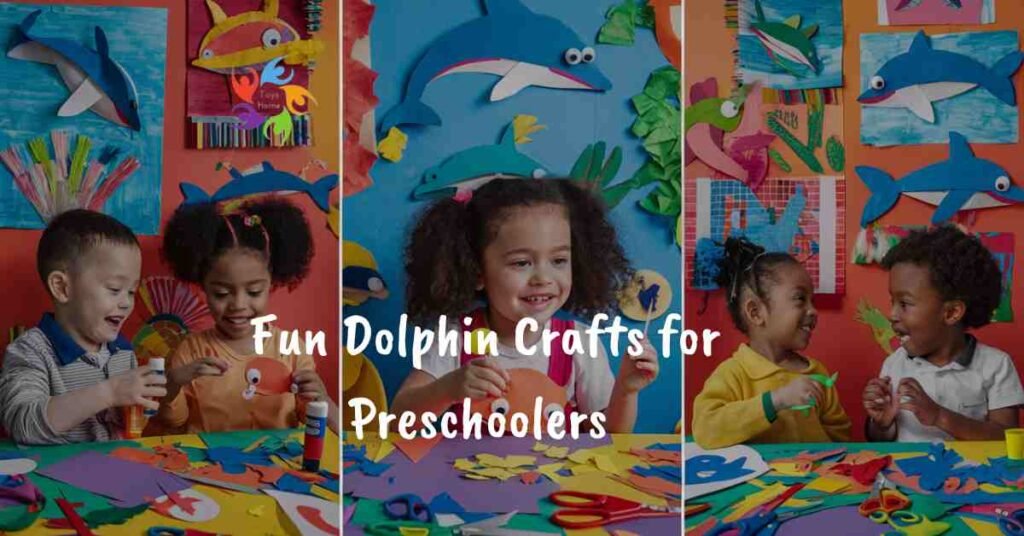
Craft time with preschoolers can be fun and educational, especially when you bring in the magic of dolphins! From paper plate dolphins to handprint art, these simple crafts are easy to make and help kids learn about these amazing, intelligent creatures. Plus, crafting is a fantastic way to develop young children’s fine motor skills and listening skills while fostering creativity.
One of the easiest crafts is the paper plate dolphin. A plain paper plate can be transformed into a playful dolphin with just a few cuts, some blue paint, and a little imagination. Preschoolers will love the chance to paint and decorate their dolphins, making each one unique. To add more adventure to the activity, you can even place your dolphin in a kiddie pool for a fun splash time!
Another exciting craft is creating a dolphin with handprints. You only need some blue fabric or construction paper and dry-erase markers for added detail. By painting their hands and stamping them onto the paper, kids can create a beautiful ocean scene with dolphins swimming by. It’s a fun and messy activity that will have them giggling joyfully.
Dolphin Paper Art
Creating a clay dolphin is a delightful and simple craft for kids. Begin by shaping a ball of clay into a long, oval form to make the dolphin’s body. Gently pinch one end to shape the nose and flatten the opposite end for the tail. Small fins on the sides and a fin on top will help bring the dolphin to life.
Once the basic shape is ready, use a toothpick or a small tool to carve out the dolphin’s eyes and mouth. This step adds a touch of personality to your creation. Allow the clay to dry completely, and you’ll have a charming aquatic mammal to display or play with. It’s a great way to explore creativity and have fun.
Clay Dolphin
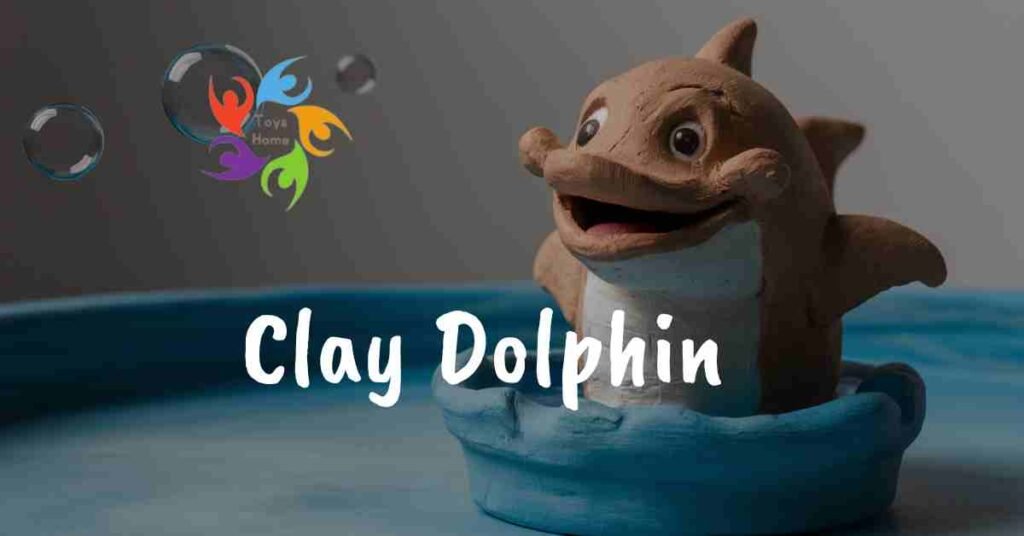
Making a clay dolphin is a fun and creative project for kids. Start by rolling a piece of clay into a long, oval shape for the dolphin’s body. Gently pinch one end to form the dolphin’s nose and flatten the other to create the tail. Add two small fins on the sides and a fin on top to complete the basic structure.
After shaping the dolphin, use a toothpick or a small tool to carve out the eyes and mouth. These details will bring your dolphin to life. Let the clay dry completely, and your dolphin is ready to be painted or displayed. This simple craft sparks creativity and helps kids develop fine motor skills while having fun.
Banana Dolphin

Making a banana dolphin is a fun and healthy snack idea for kids. Start by cutting a banana in half, leaving the peel on. Stand the banana upright with the cut side down. Gently slice the stem end to create the dolphin’s open mouth. You can place a small grape or blueberry inside the cut to look like the dolphin is holding a ball.
For the fins, make minor cuts on each side of the banana and gently pull the peel away slightly. Draw eyes on the dolphin using a food-safe marker or tiny dots of chocolate. Your banana dolphin is ready to be enjoyed as a playful and nutritious treat.
Balloon Dolphin
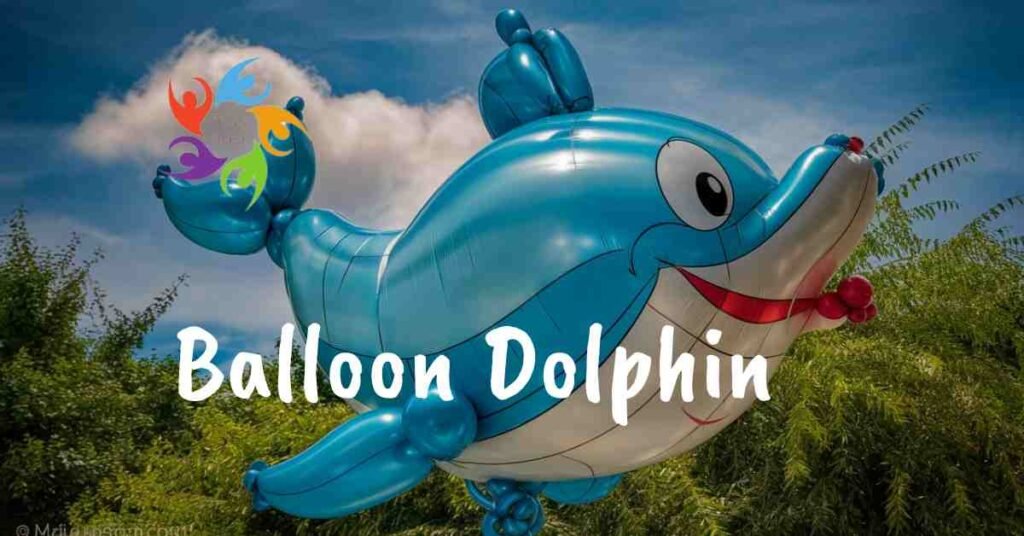
Creating a balloon dolphin is a fun and creative activity for kids. Start with a long, blue balloon and inflate it, leaving a small uninflated tip at the end. Begin by twisting the balloon to form the dolphin’s nose and head. Next, twist a section for the body, leaving enough balloons for the tail and fins.
To make the fins, twist small sections on each side of the body. Then, create the tail by twisting the remaining balloon into a V-shape. Finally, you can draw the eyes and mouth of the dolphin using a marker. Your blue balloon dolphin is now ready to play with or display! It’s a simple and joyful way to bring ocean fun into any activity.
Fabric Dolphin
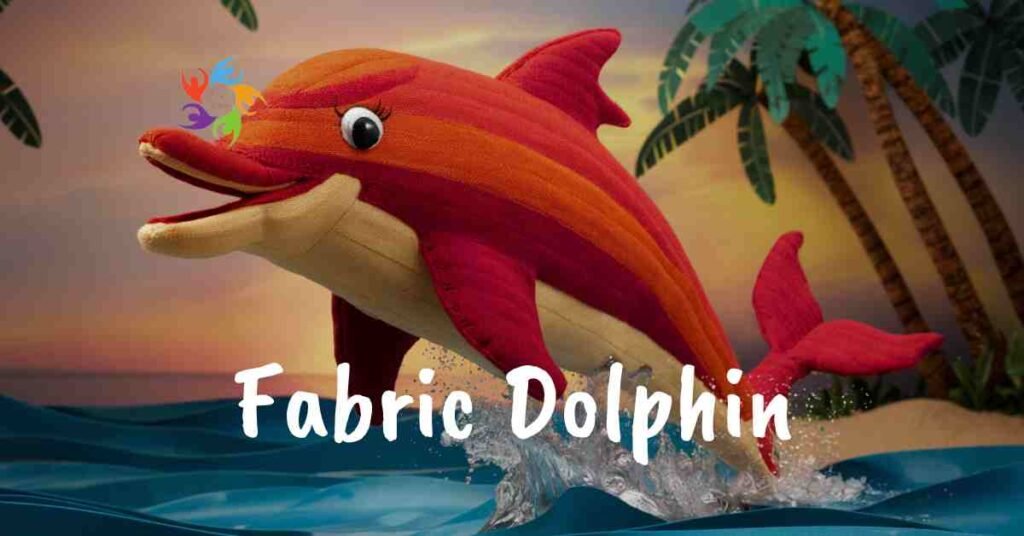
Creating a fabric dolphin is a fun sewing project for kids and adults alike. Start by choosing a soft fabric in a color you like. Draw and cut out a simple dolphin shape on the fabric, cutting two identical pieces. Place the pieces together, with the right sides facing inward, and sew around the edges, leaving a small opening for stuffing.
Once sewn, turn the fabric on the right side out and stuff the dolphin with cotton or toy stuffing to give it a plush, 3D shape. After filling, stitch up the opening carefully. Using fabric paint, buttons, or embroidery, you can add details like eyes and a mouth. Your fabric dolphin is complete and ready for use as a toy, decoration, or gift.
Dolphin Painting
Creating a dolphin painting is a beautiful way to express creativity and bring the beauty of the ocean to life. Start by sketching a simple dolphin outline on your canvas or paper. Use light pencil strokes to ensure that the lines are easy to adjust. Once you’re happy with the outline, choose a palette of blues, grays, and whites to capture the dolphin’s natural colors.
Begin painting the dolphin with a base color, usually a soft gray or blue, and gradually add highlights and shadows to give it depth and realism. You can blend the colors smoothly to create a lifelike effect. For the background, consider painting an ocean scene with waves, bubbles, and maybe even a bright sun to complete the picture. Once finished, let the painting dry, and you’ll have a beautiful dolphin artwork reflecting skill and imagination.
Silhouette of Dolphin
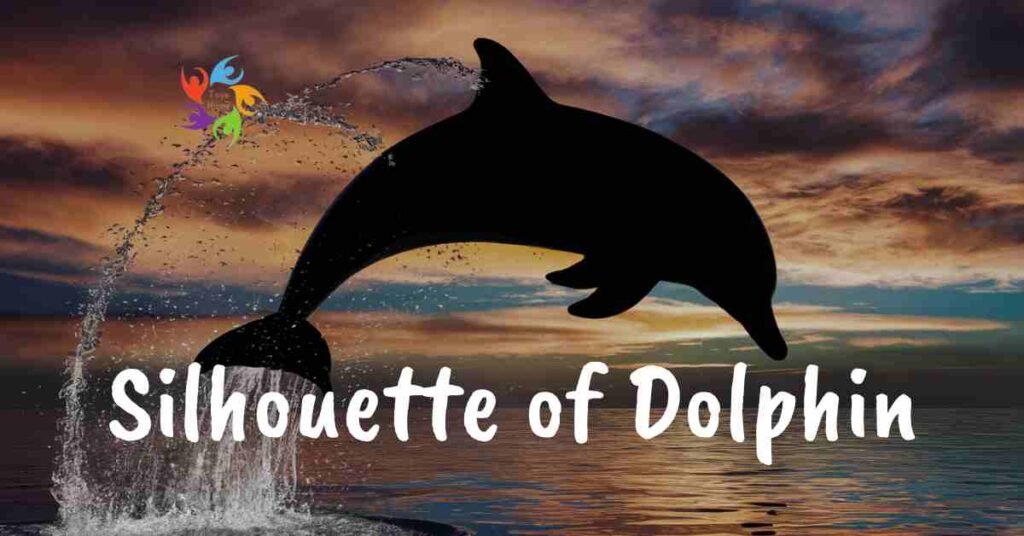
Creating a silhouette of a dolphin is a simple yet striking art project. Start by choosing a solid background color, such as a gradient of blues to mimic the ocean or a warm sunset hue. Once your background is ready, sketch the outline of a dolphin in a graceful pose, such as jumping or diving.
Next, fill the dolphin’s shape with solid black or a dark color to create the silhouette effect. The contrast between the dark dolphin and the lighter background will make the silhouette stand out beautifully. This minimalist approach captures the essence of the dolphin’s shape and movement, creating a powerful and elegant piece of art.
Dolphin Dot Painting
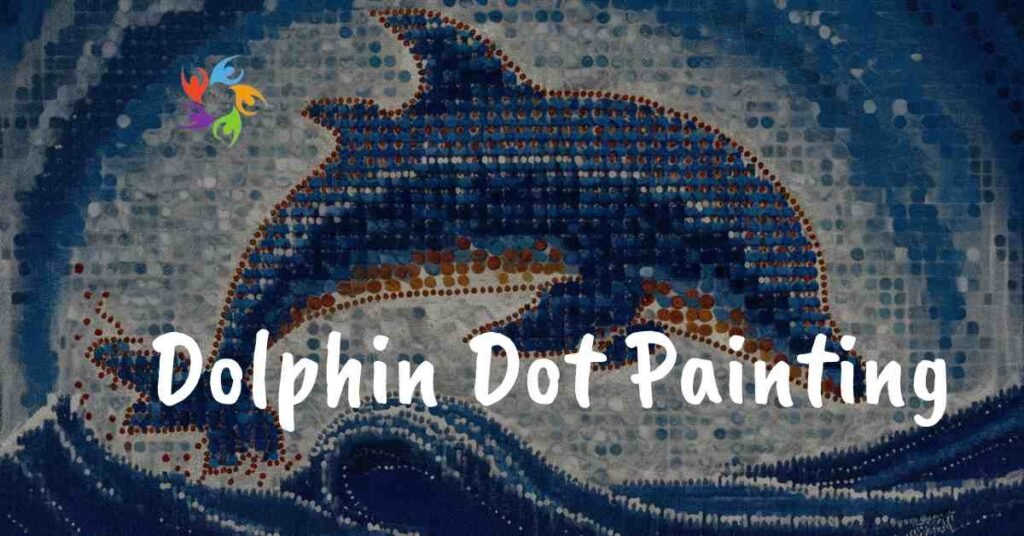
Creating a dolphin dot painting is a fun and relaxing way to explore art using simple dots to form a beautiful image. Start by lightly sketching the outline of a dolphin on your canvas or paper. Once the outline is in place, choose a selection of colors, typically blues, grays, and whites, to represent the dolphin and the surrounding water. Using a small brush, cotton swab, or even the tip of a pencil, begin placing dots inside the dolphin outline.
Start with the darker colors for the dolphin’s body, then add lighter dots for highlights and shading. Gradually fill in the entire dolphin with dots, varying the size and spacing to create depth and texture. For the background, use shades of blue and white dots to represent waves, bubbles, or splashes.
The overall effect is a stunning, mosaic-like image where the dolphin seems to come to life through the pattern of dots. This method is not only visually captivating but also meditative and satisfying to create.
Dolphin Mural
Creating a dolphin mural is a fantastic way to brighten up a space and celebrate the beauty of these majestic creatures. Begin by selecting a wall that will serve as your canvas and choose a color scheme that reflects the ocean or the colors of dolphins—typically blues, grays, and whites. Start by sketching a rough outline of the dolphin and its surroundings on the wall with a pencil. Once the outline is complete, use painter’s tape to mask off areas and define shapes if needed.
Begin painting the dolphin with the base colors, and add details like shading, highlights, and textures to give it a lifelike appearance. Incorporate elements like waves, coral, or other sea life to create a vibrant underwater scene. Use various brush sizes to achieve different effects, from smooth gradients to detailed textures. Once the mural is finished, let it dry completely, and you’ll have stunning artwork that transforms your space into an ocean paradise!
Spray-Painted Dolphin
Creating a spray-painted dolphin is an exciting and artistic project that can add a vibrant touch to any space. Start by preparing your surface as a canvas, wall, or large piece of cardboard. Make sure it’s clean and dry before you begin. First, sketch the outline of the dolphin lightly with a pencil. Next, use masking tape to protect areas where you don’t want to spray paint. Begin with the base color, typically a light blue or gray, and apply it evenly using spray paint.
Hold the spray can about 6-12 inches from the surface to achieve a smooth coat. Once the base layer is dry, add details like shading and highlights using darker and lighter colors. You can use stencils or freehand techniques to create the dolphin’s features. For additional effects, you might use a sponge or brush to blend colors or add textures. After everything is dry, carefully remove the tape, and your vibrant spray-painted dolphin artwork is ready to shine!
Leaping Dolphin
A leaping dolphin is a dynamic and inspiring subject for art. To create this image, visualize the dolphin in mid-air, gracefully arching as it leaps out of the water. Begin by sketching the dolphin’s outline on your canvas or paper. Focus on capturing the body’s curve and the motion of the leap. Use smooth, flowing lines to convey the sense of movement and energy.
Once the outline is complete, fill in the dolphin with colors that reflect its natural hues, typically shades of blue, gray, and white. For added realism, paint the splash of water around the dolphin using white or light blue paint, creating the effect of droplets frozen in mid-air. To enhance the scene, you could also paint a scenic background, like the ocean with waves or a sunset sky. This art project is beautiful and a way to celebrate the grace and power of dolphins in action.
From dolphin dot painting to creating a dolphin silhouette, there are endless possibilities to explore the world of dolphin-themed crafts. These projects are perfect for kids and provide a creative outlet for adults, making them great for family bonding, art classes, or simply enjoying some quality time with your child. Whether you’re looking for a quick and easy craft or something more detailed and challenging, there’s a dolphin craft for everyone.
Tissue Paper Dolphin Craft
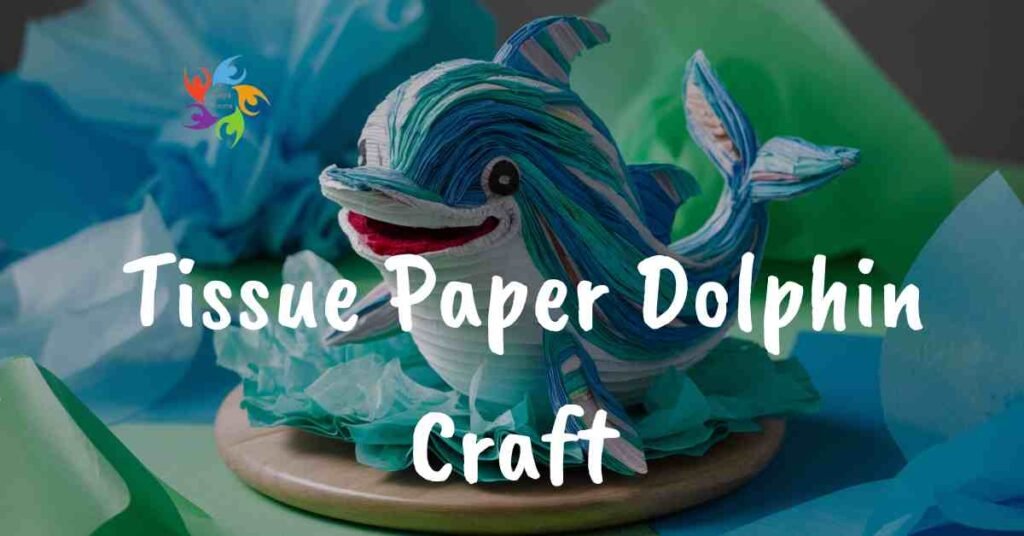
Creating a tissue paper dolphin craft is a fun and easy way to make colorful and textured artwork. Here’s how to do it:
- Materials Needed: Tissue paper in various colors (typically shades of blue, gray, and white), construction paper, glue, scissors, and a pencil.
- Preparation: Start by drawing a simple dolphin shape on construction paper. You can sketch a leaping dolphin or a dolphin swimming, depending on your preference.
- Tearing Tissue Paper: Tear the tissue paper into small pieces or squares. You can use different colors to add depth and texture to your dolphin.
- Gluing Tissue Paper: Apply glue to sections of the dolphin shape on the construction paper. Start placing the tissue paper pieces onto the glue, overlapping them to cover the entire dolphin shape. Continue until the dolphin is wholly covered.
- Finishing Touches: Allow the glue to dry. Once dry, you can trim any excess tissue paper from the edges of your dolphin. Using markers or additional tissue paper, you might also add details like eyes and a mouth.
This craft is excellent for developing fine motor skills and encourages creativity with color and texture.
How to Make A Paper Plate Dolphin Craft?
Making a paper plate dolphin craft is a simple and enjoyable project perfect for kids. Here’s a step-by-step guide:
Materials Needed
- Paper plate
- Blue paint (or any color you like)
- Paintbrush
- Scissors
- Glue
- Construction paper (for fins and tail)
- Black marker or crayons (for eyes and details)
- Optional: googly eyes
Instructions
- Paint the Plate: Start by painting the entire paper plate blue (or your chosen color). Allow the paint to dry completely.
- Create the Dolphin’s Body: Once the plate is dry, fold it in half to create the dolphin’s body. Make sure the painted side is on the inside of the fold.
- Cut Out Fins and Tail: From the construction paper, cut out two fins and a tail. The fins should be slightly curved and pointed, while the tail can be a simple triangular shape.
- Attach Fins and Tail: Glue the fins to the sides of the folded plate and the tail to the back. Make sure they’re positioned securely.
- Add Details: Use the black marker or crayons to draw the dolphin’s eyes and a smile. You can also glue on googly eyes for a fun touch.
- Finishing Touches: Let all the glue dry, and your paper plate dolphin is ready to swim into your craft collection!
This craft is a great way to engage children in creative play and help them learn more about marine life.
FAQs
1. What age group is this craft suitable for? This paper plate dolphin craft is ideal for children aged 3-7 years. It’s simple enough for younger kids to complete with minimal assistance but engaging enough for slightly older children.
2. Can I use different colors for the dolphin? Absolutely! While blue is a common choice, you can use any color you like for the dolphin’s body. Feel free to experiment with different shades and patterns to make your dolphin unique.
3. What if I don’t have construction paper? If construction paper isn’t available, you can use any colored paper or even repurpose old magazines or wrapping paper. Just make sure the material is sturdy enough to hold its shape.
4. How can I make the dolphin more realistic? To make the dolphin look more realistic, add details like a lighter-colored belly or use glitter for a touch of sparkle. Adding textured materials like felt for the fins and tail can enhance the craft.
5. Can I use other adhesive methods besides glue? Yes, you can use double-sided tape or a glue stick. These alternatives work well for attaching the fins and tail.
Conclusion
Creating a paper plate dolphin craft is a delightful and engaging activity that combines art and learning. It’s a simple project that helps children develop fine motor skills while exploring creativity.
Kids can easily make colorful dolphins by using basic materials like paper plates, paint, and construction paper.
Whether for a classroom project, a rainy day activity, or just for fun, this craft provides a beautiful way for children to express their artistic side and learn more about marine life.