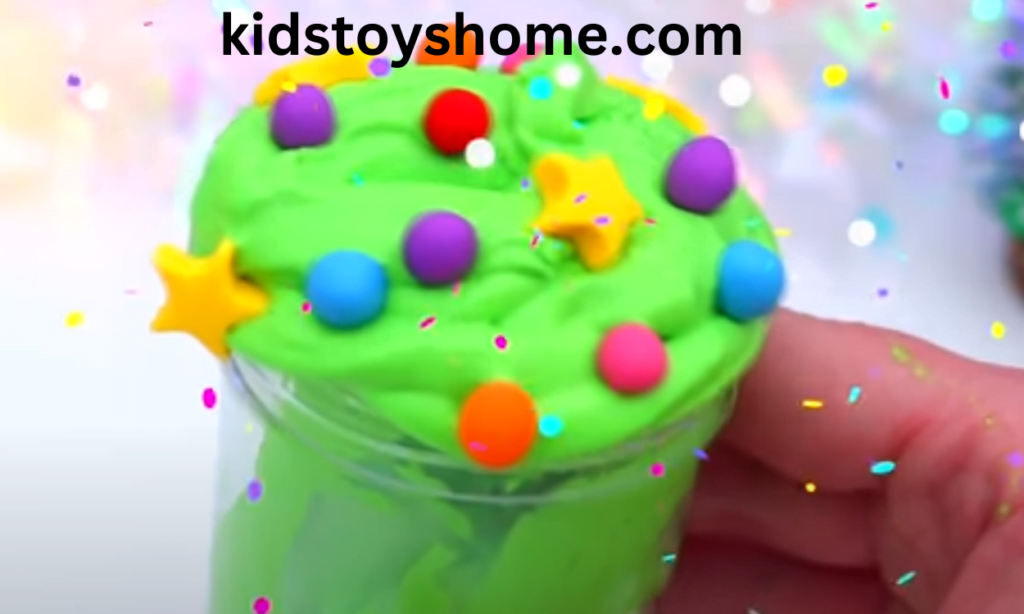
Slime is like magic jelly in your hands! It’s soft, stretchy, and super fun. Kids love to pull it, press it, and shape it in cool ways. Now imagine a slime that looks like a Christmas tree, green, shiny, and full of glitter and tiny decorations.That’s called Christmas Tree Slime. It feels like holding a mini Christmas party in your hand!
But sometimes slime can be messy. It sticks to hands or clothes.Parents don’t like that. Don’t worry! In this article, we’ll show you how to make mess-free Christmas tree slime. It’s safe, easy, and full of holiday fun.Let’s get started on this fun, sparkly adventure!
Benefits of Making Christmas Slime at Home
Making Christmas slime at home offers a wide range of benefits, both fun and educational. It provides a fantastic sensory experience for kids, allowing them to explore different textures and materials while engaging their sense of touch and sight. This tactile experience can be both calming and stimulating, making it a great activity for children with sensory processing issues.
In addition, making slime is a great way for kids to learn about chemistry and the properties of different materials. They can observe how ingredients like glue, borax, and food coloring interact to create a non-Newtonian fluid with unique stretchy and squishy properties. This hands-on learning experience can spark curiosity and a love for science in young minds.
Furthermore, making slime at home can be more cost-effective and safe than buying pre-made slime. By using simple household ingredients, parents can ensure that their children are playing with a non-toxic and safe product. Additionally, making slime at home allows for customization, giving kids the freedom to create their own unique colors and textures.
Overall, making slime at home is a fun and educational activity that provides a sensory experience, teaches chemistry, and offers a cost-effective and safe alternative to store-bought slime.
Tree Slime Recipe Ingredients: Green Food Coloring, Basic Recipe, and Green Glitter (optional)
To make the Tree Slime Recipe, you will need the following ingredients: green food coloring, PVA glue, baking soda, contact lens solution, and holly and berry sequins for a Christmas-themed touch.
The basic recipe for making the slime is to mix 1/2 cup of PVA glue with 1/2 teaspoon of baking soda in a bowl.
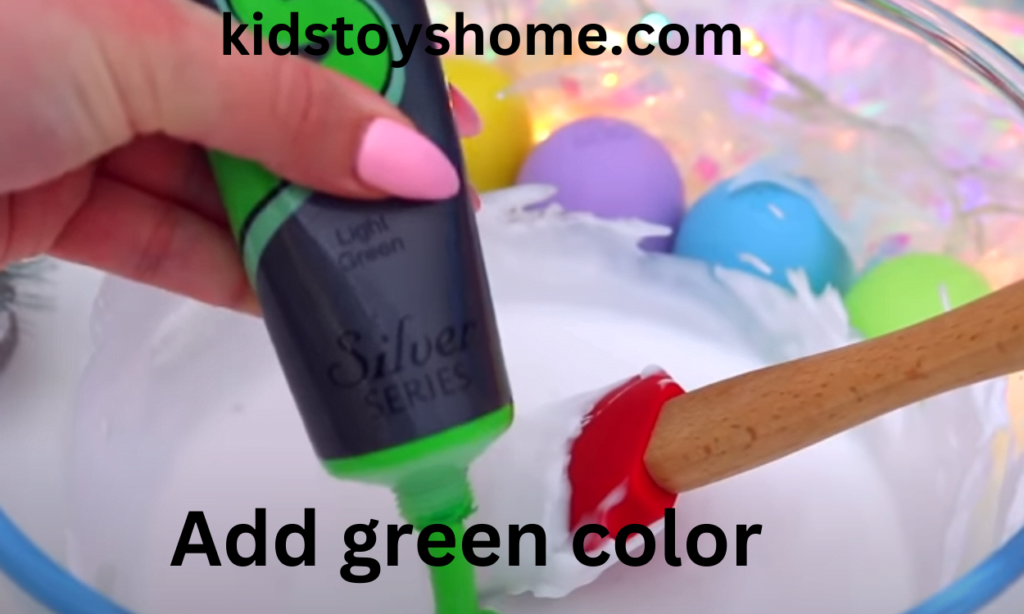
Then, add a few drops of green food coloring and mix well.
Next, add 1 tablespoon of contact lens solution and stir until the slime starts to pull away from the sides of the bowl.
Once the slime is formed, you can add the holly and berry sequins to give it a festive touch.
If you want to incorporate green glitter into your slime, simply add a sprinkle of green glitter to the mixture before adding the contact lens solution. This will give the slime a sparkly, festive look.
How To Make Christmas Tree Slime?
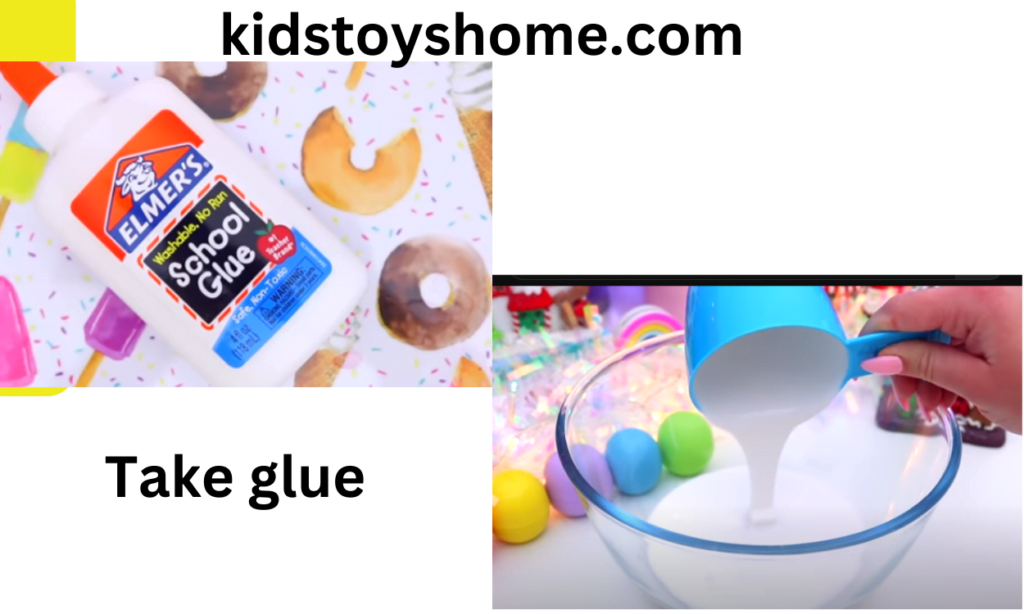
Take glue in a bowl.
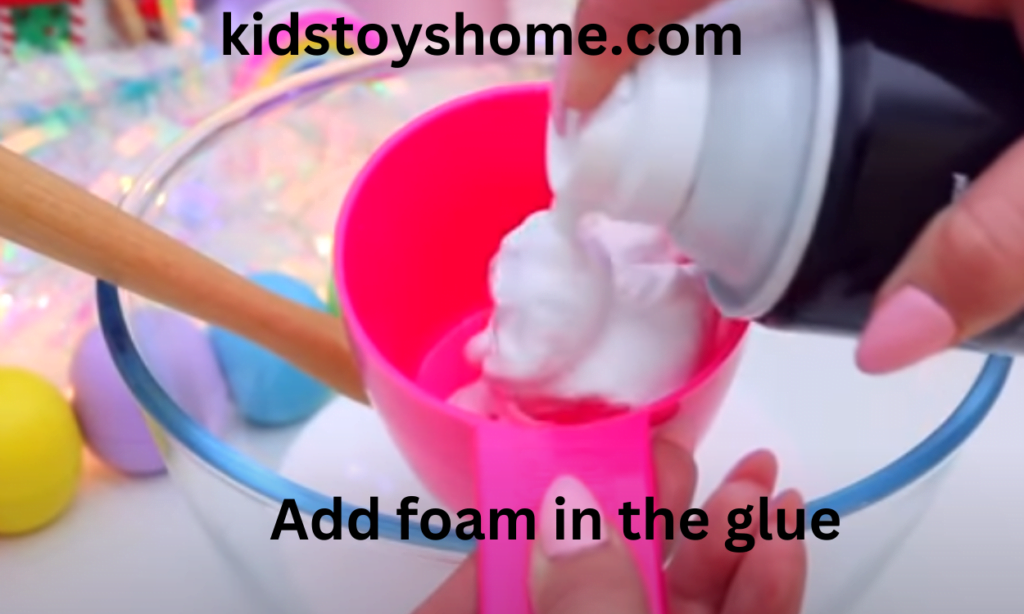
Add foam into it.
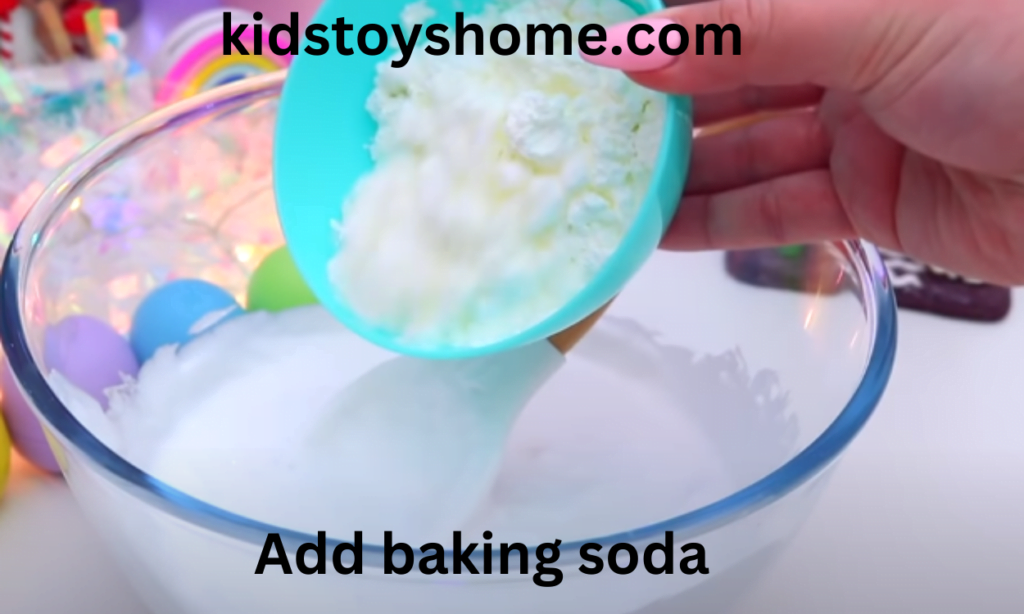
Add baking soda.
Add borax in the bowl.

Add acrylic green or brown color for tree making.
Mix it well and get the slime.
Air-Tight Container or Jar
When choosing an airtight container or jar for storing dry goods, it is important to prioritize the seal that locks out air and moisture to preserve freshness. Look for containers or jars with a secure lid that creates a tight seal to prevent any outside air or moisture from entering.
Consider the material of the container, as glass is great for visibility and can also be elegant for showcasing food items, while plastic is lightweight and convenient for transportability. The size of the container should also be considered, ensuring that it is appropriate for the intended amount of dry goods.
Make sure to check the lid style as well, as some containers have a latch or clamp lid while others may use a screw-on or snap-on lid. Whichever style you choose, ensure that it provides a tight and secure seal to keep air and moisture out.
Ultimately, the key to choosing the right airtight container or jar is to prioritize the seal that will preserve the freshness of your dry goods. By selecting the appropriate material, size, and lid style, you can effectively store your dry goods and keep them fresh for longer.
What Does Baking Soda Do in Slime?
Baking soda is often used in slime-making to help control the thickness of the slime. When added to the mixture, baking soda acts as a thickening agent, causing the slime to become stiffer and hold its shape better. This can make the slime easier to mold and play with.
In the Christmas Slime recipe, it is recommended to use 1/4 teaspoon of baking soda for every 1/2 cup of white school glue. However, it is encouraged to experiment with different ratios of baking soda to find the desired thickness and texture of the slime. Some people may prefer a thicker slime, while others may prefer a thinner consistency, so it’s a good idea to play around with the amount of baking soda to achieve the perfect result.
In addition to its thickening effect, baking soda can also be used in slime-making to create a fizzing or bubbling effect when combined with certain ingredients. This can add an extra element of fun to the slime and create unique textures and sensations. If you’re feeling adventurous, you can also experiment with using baking soda to create different types of slime, such as fluffy slime or crunchy slime.
Choosing the Right Contact Lens Solution for Slime
The best contact lens solution for making slime should contain specific ingredients that will react with the glue to form the desired slime. Look for a contact lens solution that includes boric acid and sodium borate in the list of ingredients. These two ingredients are crucial in the slime-making process, as they act as the activator that reacts with the polyvinyl acetate in the glue.
When mixed, the boric acid and sodium borate create a chemical reaction with the glue, causing the polymer molecules in the glue to link together and form the stretchy, slimy substance we all know and love. Without these key ingredients, the slime may not achieve the desired texture and consistency.
Therefore, when choosing a contact lens solution for making slime, ensure that it contains boric acid and sodium borate in order to achieve the best results. By paying attention to these specific ingredients, you can ensure that your slime-making experience is successful and enjoyable.
What Is Sodium Borate (Borax) and How It Works in Slime
Sodium borate, commonly known as borax, is a versatile compound with various uses and properties. It is commonly used in cleaning products such as laundry detergents and multi-purpose cleaners due to its ability to enhance the cleaning power and remove stains. Additionally, it is utilized as a flame retardant in products such as textiles, plastics, and wood products. In chemical labs, sodium borate serves as a buffering agent to maintain the pH level of solutions during experiments.
The chemical structure of sodium borate consists of sodium, boron, and oxygen atoms, forming a crystalline structure. It appears as a white, powdery substance and is soluble in water.
When handling sodium borate, it is important to do so with care due to its potential irritant effects on the skin, eyes, and respiratory system. Proper safety measures, such as wearing gloves and protective eyewear, should be taken when using this compound. In terms of storage, it should be kept in a dry and well-ventilated area away from incompatible substances.
In summary, sodium borate, or borax, is a valuable compound with uses in cleaning products, flame retardants, and as a buffering agent in chemical labs. It is important to be mindful of its properties and take appropriate safety precautions when handling and storing it.
Why White Glue Is Important for Making Slime
White glue, also known as school glue or craft glue, is a versatile adhesive that can be used for various applications. It is commonly used for bonding paper, cardboard, foam board, and other porous materials. White glue is also suitable for crafting projects, such as creating collages, making slime, and building models.
There are different types of white glue available in bottles, including liquid white glue, gel white glue, and repositionable white glue. Each type offers specific properties and applications, such as faster drying time, stronger bond, or the ability to reposition materials.
When using white glue, it is important to apply a thin, even layer to the surface and then press the materials together firmly. After bonding, it is recommended to let the glue dry completely for optimal strength.
To store white glue for optimal longevity, it should be kept in a cool, dry place, and the cap should be tightly closed after each use to prevent air exposure.
Overall, white glue is a versatile adhesive with various applications and types available to suit different needs. By following proper techniques and storage methods, white glue can provide strong and reliable bonding for numerous projects.
The Tree Slime Recipe is a fun and festive activity for kids, especially during the Christmas season. It’s a great way to get into the holiday spirit while also getting a little messy and creative.
Conclusion
In conclusion, making festive Christmas Tree Slime at home is a joyful, educational, and cost-effective activity suitable for all ages. It not only encourages creativity and sensory play but also allows a hands-on experience of simple chemistry concepts. By using safe and easily accessible household ingredients, you can ensure a fun and safe play environment.
It’s an ideal activity for the holiday season that allows for endless customization, whether you’re changing up the colors or adding glitter and themed sequins. Remember, while the slime can last for a few weeks with proper storage, it’s always most exciting to create a fresh batch each festive season.
Enjoy the slime-making process and don’t forget to have fun – after all, that’s what it’s all about!
Frequently Asked Questions
What materials do I need to make festive Christmas Tree Slime at home?
To make festive Christmas Tree Slime, you will need clear glue, a slime activator (such as borax solution or contact lens solution), green food coloring, and Christmas-themed glitter or sequins for decoration.
Is it safe for children to play with the Christmas Tree Slime?
Yes, as long as non-toxic materials are used and children are supervised during play. Always make sure that the slime is not ingested.
Can I store the Christmas Tree Slime and use it next year?
Slime generally lasts a few weeks if stored in a sealed container in a cool place, but it is not recommended to keep it for a whole year. For best results, make fresh slime each festive season.
How long does it take to make Christmas Tree Slime?
The process is quite quick and should not take more than 15-20 minutes. However, the exact time can vary depending on how much slime you are making.
Can I use something other than green food coloring?
Yes, you certainly can! Feel free to get creative and use different colors to represent different types of Christmas trees, or even make rainbow slime for a fun twist!